Our DIY home energy retrofit story
November 17, 2020
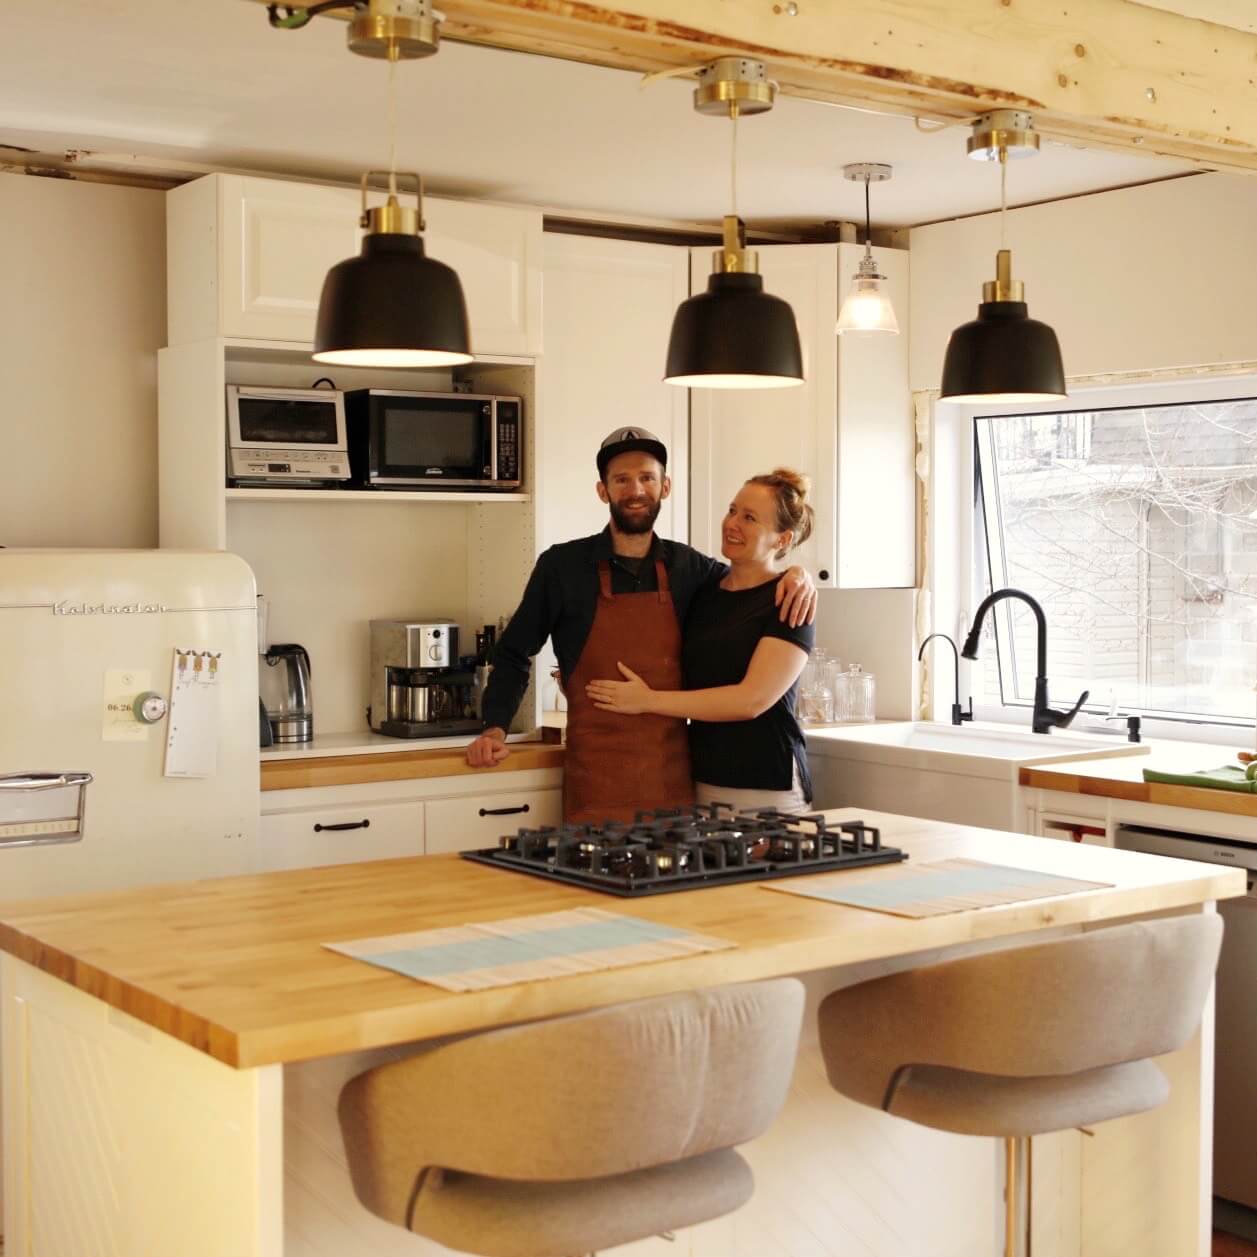
Earlier this year, my husband, Tom, and I decided to leap into the exciting, yet complex, ‘do-it-yourself’ project of renovating our kitchen. It would be our first major renovation project together. With Tom’s decades-worth of design and building experience, and my Interior Design degree, this renovation felt like a great opportunity to add some significant personal touches to our late 1940s home while integrating some energy-saving upgrades.
Back in March, we bravely and boldly began the demolition stage. Little did we know that life was about to get a lot more complicated just a couple of days later as the province entered a state of emergency. If the stress of a torn-up kitchen wasn’t enough, now we were in the middle of a global pandemic and lockdown. This project would now stretch us far more than we already anticipated.
With these stretches we have learned a lot. While this renovation involved some more intensive DIY elements (i.e. removing walls and upgrading insulation), it also included a variety of simple energy-saving upgrades. So, whether you’re looking to dive into the deep-end like we did, or prefer some quick and easy energy-saving wins, here is a list of what we did, starting with the most difficult.
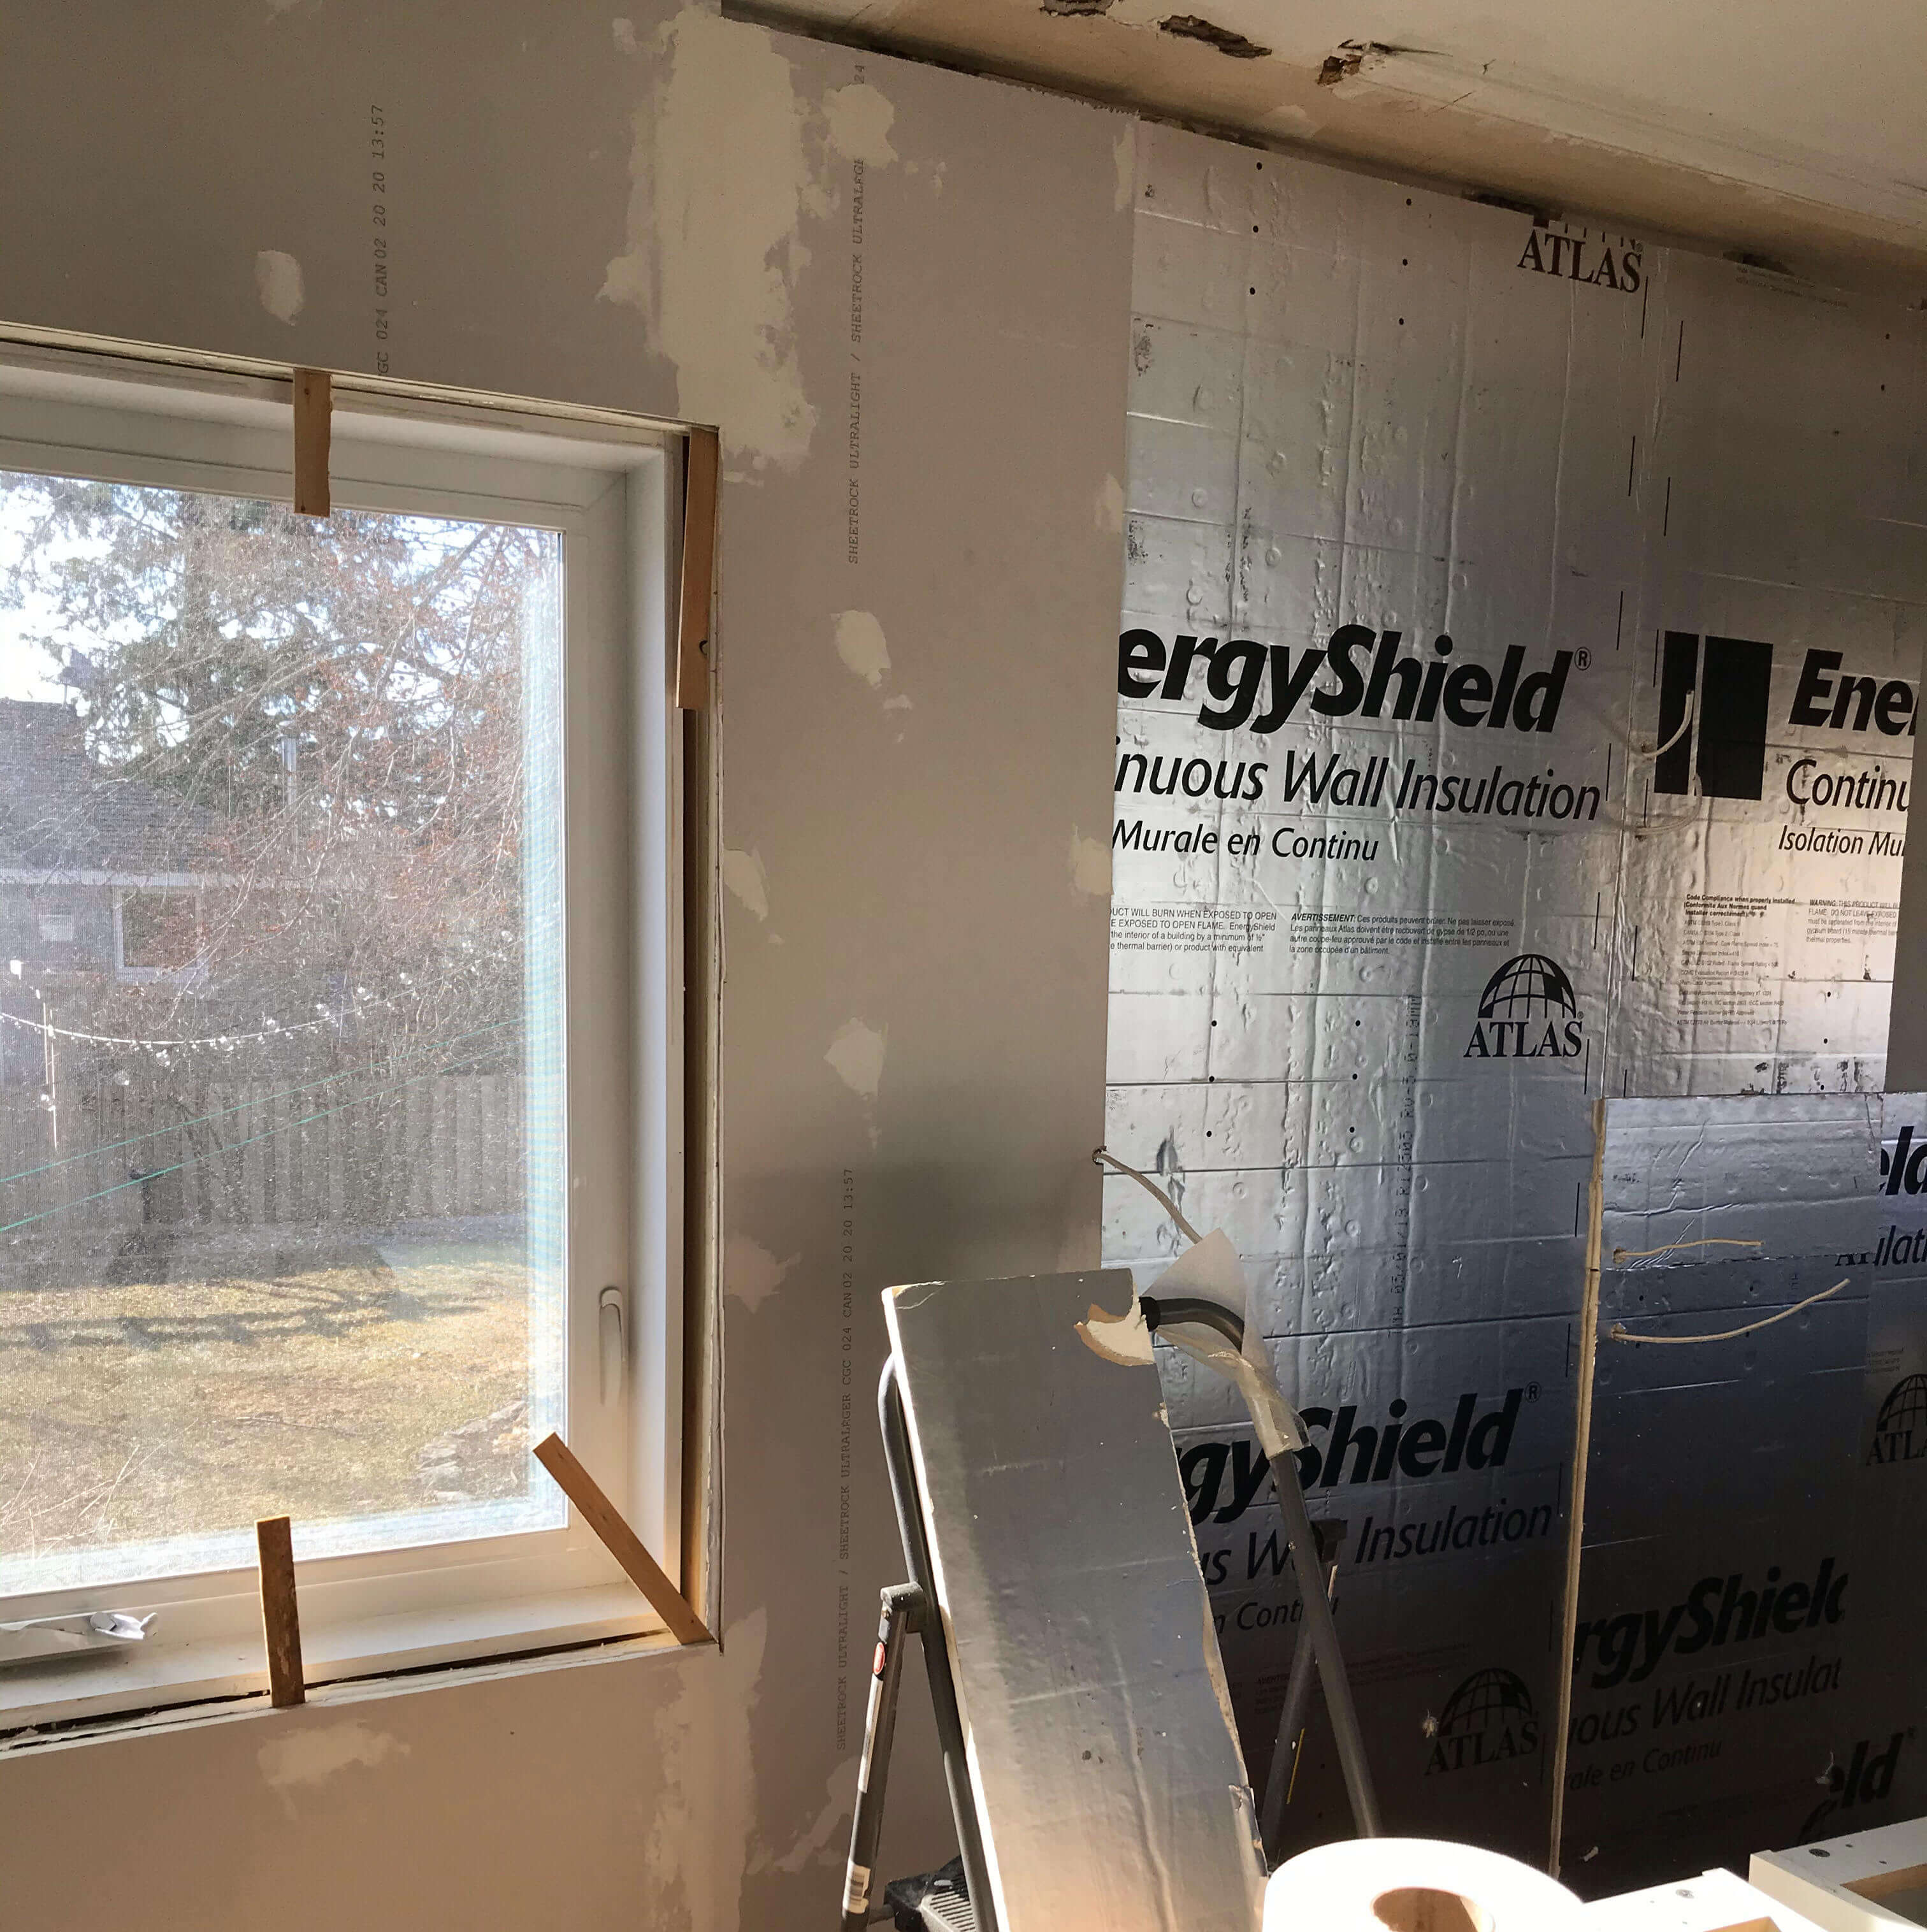
1. Adding interior insulation to the exterior walls
This was a much more invasive upgrade as it involved gutting the walls down to the bare concrete blocks that our house is constructed from, and then building it back up with a continuous layer of insulation, furring strips, and then another layer of continuous insulation. Our goal was to increase the R-value (the higher the R-value, the higher the insulating value) as much as possible within a 4-inch space in order to avoid increasing the thickness of the walls into the living space too much. The primary motivation to perform this upgrade was that the original kitchen walls had an approximate R-value of 8 and were on the side of the house that is the coldest, receiving the least amount of sun in winter and the most wind. Our updates allowed us to increase the walls to an R-value of 30. Boosting the insulation will reduce heat transfer in this area of our home, which, in turn, will help to reduce future energy bills.
2. New, high-efficiency windows
Windows can be a major source of heat gain - or loss, so they are an important piece to look at when considering home retrofits. Unfortunately for us, the original wood-framed windows (which are more durable and could have been rehabilitated to modern efficiency standards) had already been replaced by single-pane 1970s windows which were no longer well-sealed. Even more maddening was the fact that we couldn’t even open most of them anymore. All things considered, we opted to upgrade to full-frame vinyl windows – favoured for their low cost and high efficiency. So far, we have been thrilled with the results.
3. ENERGY STAR dishwasher
When we first moved in, we naively thought we’d be just fine without a dishwasher (for those families who do, we sincerely applaud you). Let’s just say, hand-washing dishes got old for us pretty quickly and, funnily enough, much of this kitchen renovation stemmed from the snow-ball effect of desiring a space to integrate one. From an energy-saving perspective, modern dishwashers are even more efficient than hand-washing, especially when selecting one that is ENERGY STAR certified. For this reason, we searched for an ENERGY STAR model that would suit our needs. While it might not be economical or reasonable for you to go buy a new dishwasher right away, we recommend that the next time you are in the market for one, you seek out an ENERGY STAR certified model. In the meantime, if you already have a dishwasher, remember not to use the heated-dry cycle as the latest developments in the air-dry cycle are effective enough and it will save you a great deal of energy.
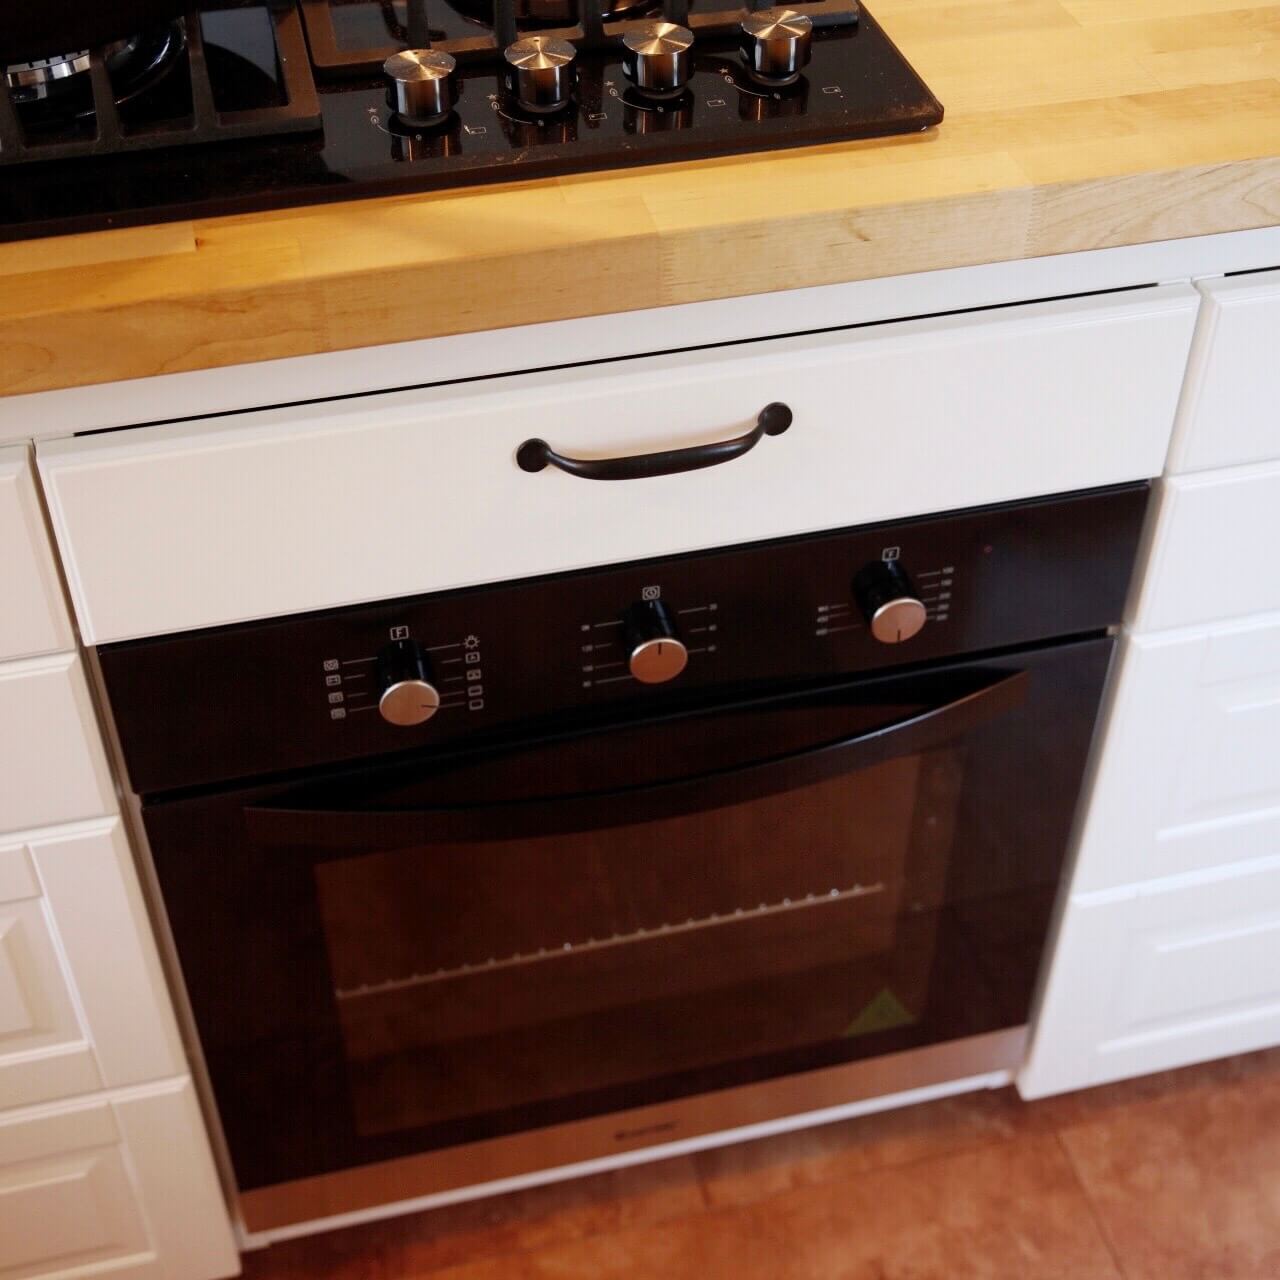
4. A smaller wall-oven
Since we had already elected to go with an integrated oven and cooktop to save space in our small kitchen, we decided to buck the North American trend of massive appliances and look for something that would be space and energy-efficient, yet functional. Smaller ovens, by their very nature, consume less energy because they have less air space to heat. We ended up choosing a 24-inch oven with convection features and even a rotisserie spit. You might be wondering: does a smaller oven limit your ability to cook larger meals? No, not necessarily. Now that Thanksgiving has come and gone, we can confirm that our smaller oven is tiny but mighty as it could fit a large turkey. Our advice: before settling on a smaller model, consider your usual cooking routine and what would be the most you would be baking at any one time – even get out a measuring tape if it will help you more accurately conceptualize your needs (that’s what we did).
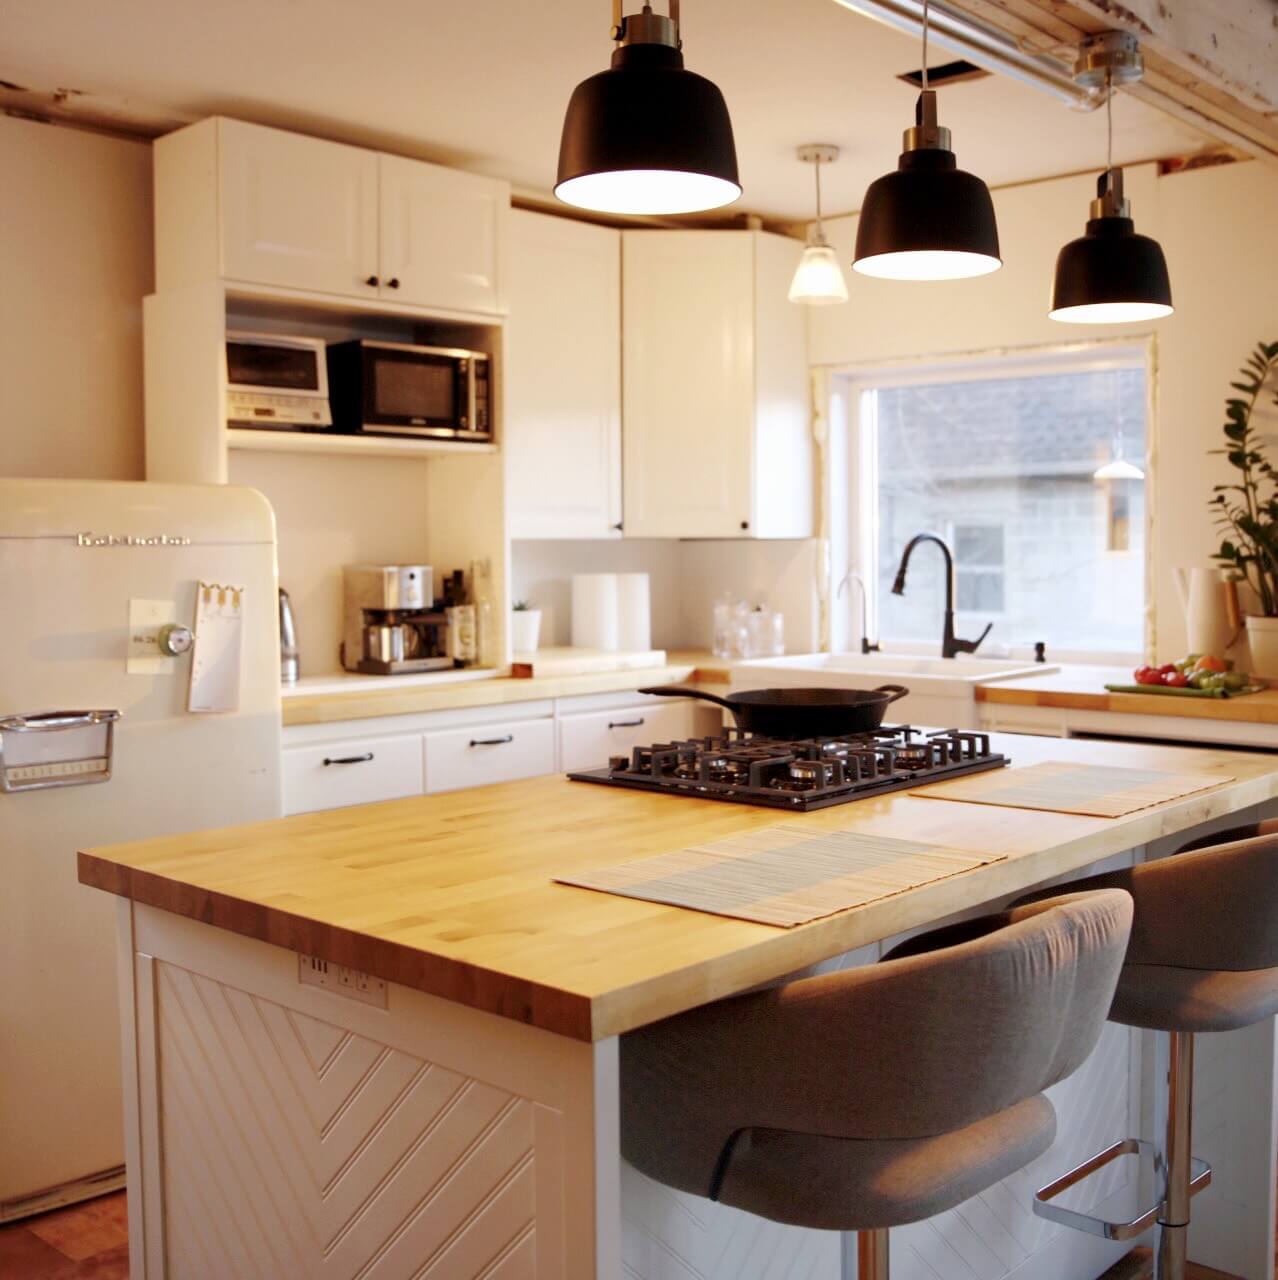
5. Smart light bulbs
We confess that we have been late to adopt modern, energy-efficient bulbs because we were still not satisfied with the colour and aesthetic qualities of LEDs. We were attached to the light quality and colour rendering ability of the classic incandescent bulb, despite being wildly inefficient. That said, LEDs have come a very long way, so our new favourite has become the RGB LED smart bulbs on the market. RGB LED smart bulbs checked all our boxes for energy efficiency, convenience (just yell: “Hey Google/Alexa, turn on the lights!”), customizable color temperature, dimming features, and high colour-rendering index. The smart features of these bulbs also enable you to set and automate your lights to go on - or off - directly from your phone. Using these bulbs is probably the simplest upgrade you could make for a noticeable impact on lifestyle.
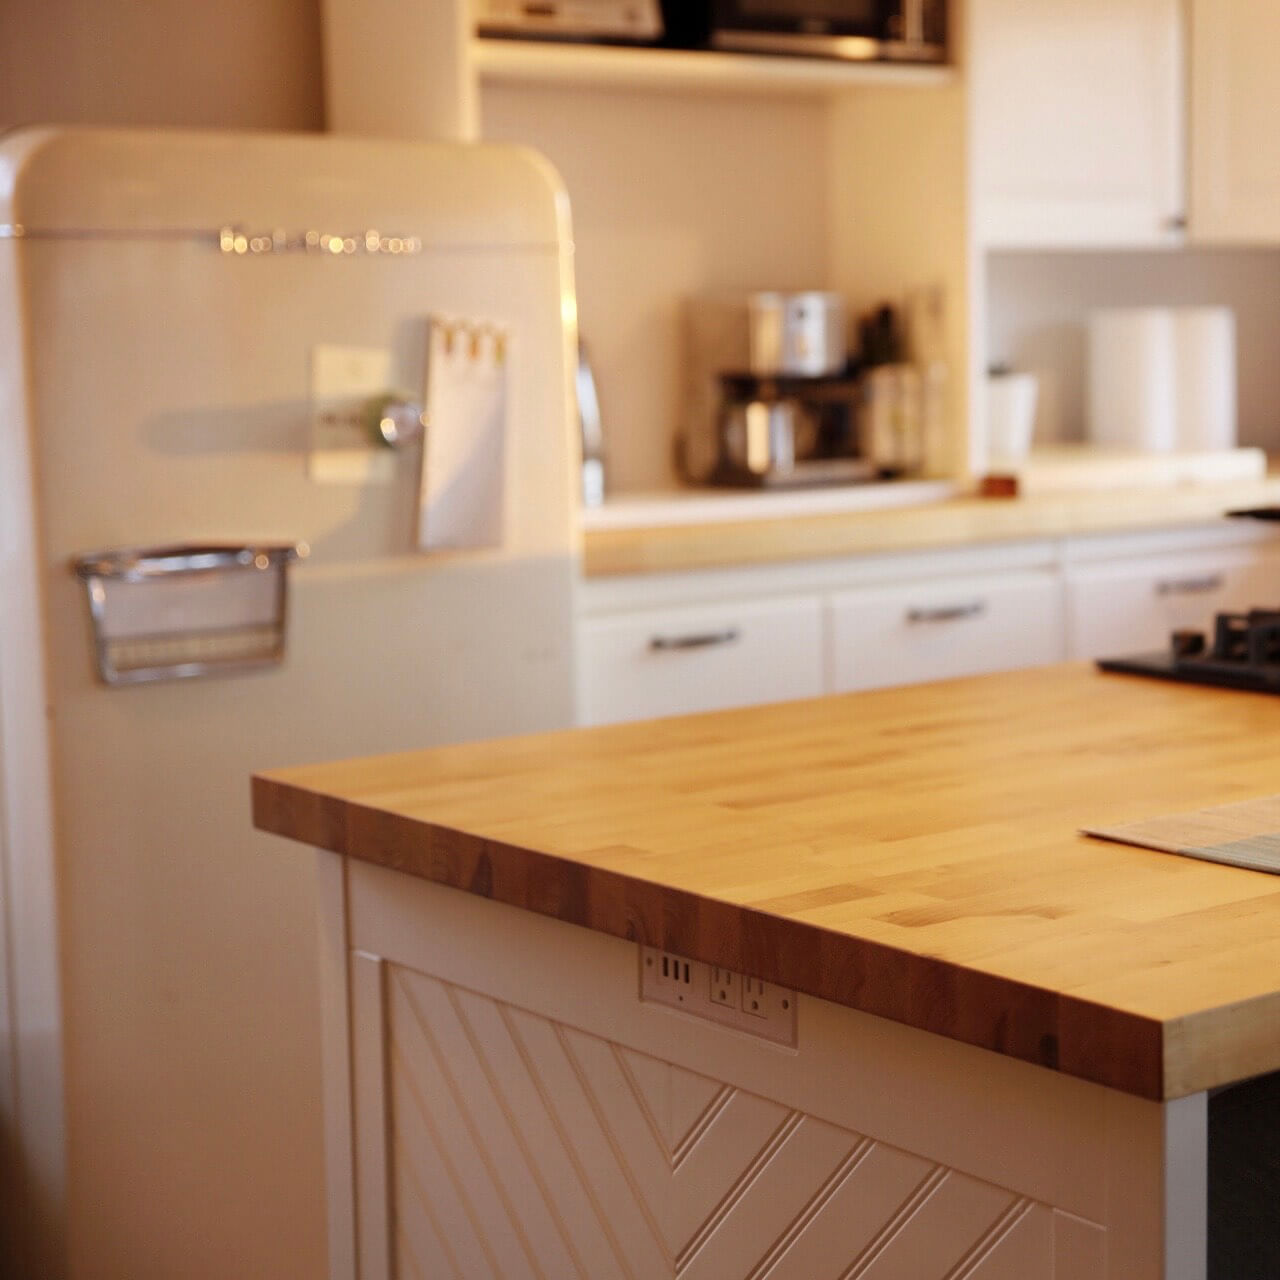
6. Our retro fridge
I could write an entire article on our vintage fridge – and really, this is more of a fun fact than a practical DIY tip, but I could not end this article without mentioning its surprising energy efficiency. Our fridge from the 1950s, with its simple (not to mention beautiful) design, is competitive with today’s modern, yet efficient fridges. For one thing, it is smaller (12 cubic feet), so there is less air space to cool. We also ‘nerded’ out and used a kilowatt meter to confirm how much electricity it actually consumes, which came out to 400 kWh per year (costing approximately $60 per year). Lastly, not only is this fridge energy efficient on a day-to-day usage level, its lifetime energy footprint is also significantly less due to its longevity. The average modern fridge lasts approximately 14 years, while this fridge has been operating for 70 years and counting, saving the production and disposal of nearly five fridges.
Progress shots:


No matter what you’re planning next for your home, Tom and I hope our experience will help spark some ideas and consideration for some energy-saving updates. Efforts big and small can go a long way for the environment and your home energy bill.
To see how our renovation plans continue to unfold, follow us on Instagram.